

Build native HTML modals and dialogs
Changing the way that you use modals and dialogs

I'm a APEX Senior developer who likes write down what I discover to keep a part of my mind stored and share my knowing with others.
Hello Everyone 👋 Today I bring a tip that can change the way you use some modals or dialogs, and this works not only for Oracle APEX but for any web page.
The <dialog> Element
This element was added to HTML 5.2 and brought a native dialog with much less JavaScript and much more functionality, which makes our lives much easier.
The Oracle APEX already facilitated the creation of models/pop-ups with less code, using inline dialogs — that I intend to bring an article about. But, sometimes we need something more "cheap" and direct.
But hold on, what is a dialog?
The dialog is just a pop-up that appears sometimes on top of the current page, and we have 2 main dialogs that make it, but with some differences:
This is a dialog
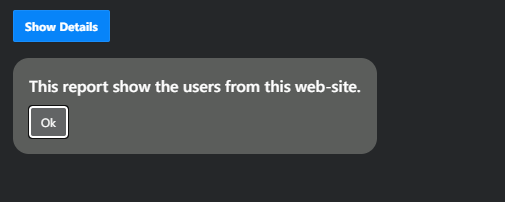
This is a Modal
The biggest difference between these 2 is that the dialog allows one to interact with the web page even when it is open. Modals don't allow it. The modal has to be closed for the user to interact with the web page.
How to use <dialog>
<!--Default is hidden-->
<dialog>
  <!-- Dialog Content -->
</dialog>
<!--If we add open attribute, the dialog opens-->
<dialog open>
  <h1>You can see me</h1>
</dialog>
But control the dialog element using JavaScript is the best way to work with it.
dialog.show()opens a simple dialogdialog.showModal()opens a modal
Using a dialog non-modal
In my APEX application, I created a page with 2 regions. One of them shows a report of users, and the other is static content with a template none
For example, I will build a common dialog that we all already see on many web pages: The cookies dialog.
Inside my dialog region, I write this HTML:
<dialog class="dialog-cookies">
    <h4>This web site use cookies to provide a better experience.</h4>
    <span>Please, allow using cookies for a better experience:</span>
    <div class="bts-wrapper">
    <button class="bt-cookies t-Button" type="button">Yes</button>
    <button class="bt-cookies t-Button" type="button">No</button>
    </div>
</dialog>
Let's style our page and dialogs
/*For default the browser centralize all the dialogs.
 however, I want that some dialogs stay in the same
 place as they are written on the page*/
*{
    box-sizing: border-box;
    margin: 0;
 }

dialog {
  z-index: 999; /*on top of everything*/
  background: rgb(91, 93, 91); /*a pleasable color*/
  border: none;
  border-radius: 1rem;
 /*to centralize*/
  top: 50%;
  left: 50%;
  translate: -50% -50%;
}

.dialog-cookies{
   margin-top: -15%; /*putting on top of page*/
}

/*configuring the distance of the buttons*/
.bts-wrapper{
    display: flex;
    justify-content: space-around;
    align-items: center;
    margin-top: 0.5rem;
}
Now that we have the modal element styled, we need to configure when it will show up. For this, I build a Dynamic Action in page load:

The true action must be an Execute JavaScript code:
const dialog = document.querySelector(".dialog-cookies");
dialog.show();
This way, when the user opens the page the cookie dialog will be open:
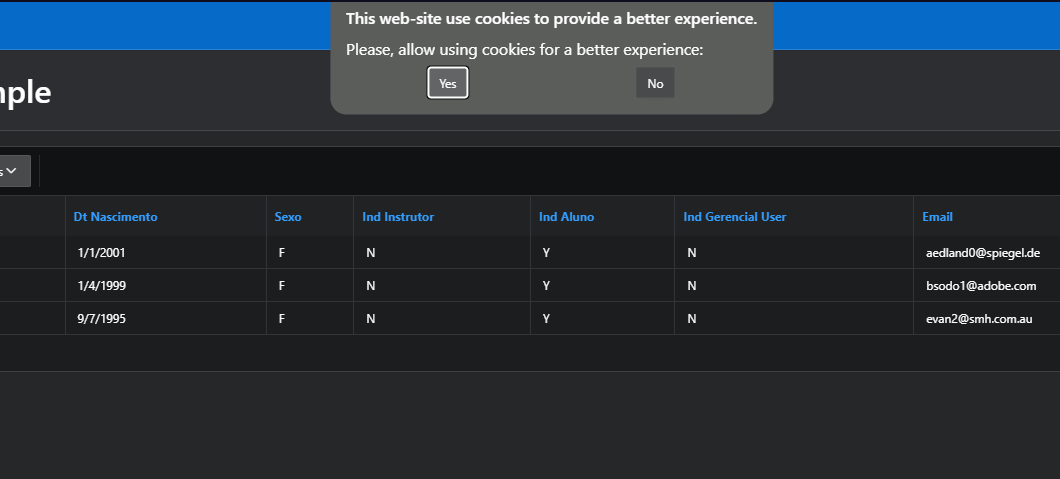
- notice that this dialog does not prevent the user from interacting with the page
You can capture the answer from the button that the user has clicked by just associating an event with it.
Using a modal dialog
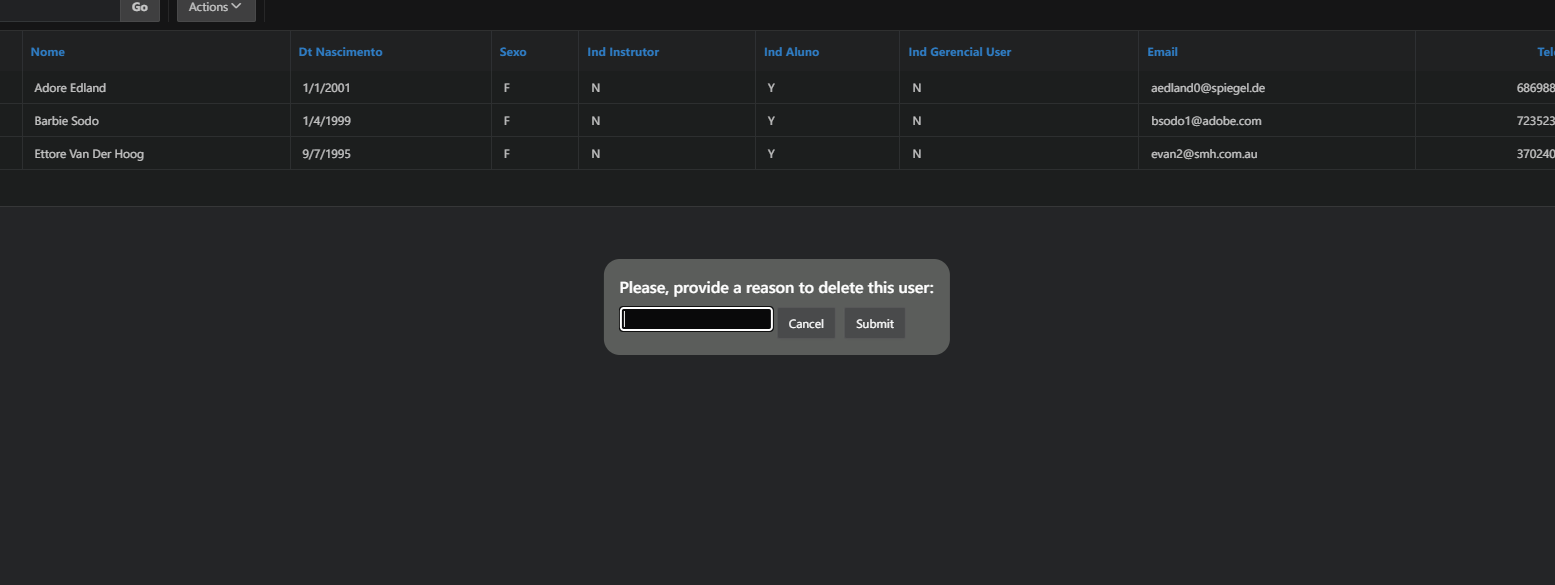
Now, let's use the report that I mentioned above. This report has a column called "Modal" with a button inside it. This button is supposed to delete a user of the system, but when the user clicks on it, a modal shows up asking for a reason to delete that user.
Let's see how can we do that:
First, create a column that will contain the button that you will use to open the modal, in my example I going to use a column null with MODAL alias
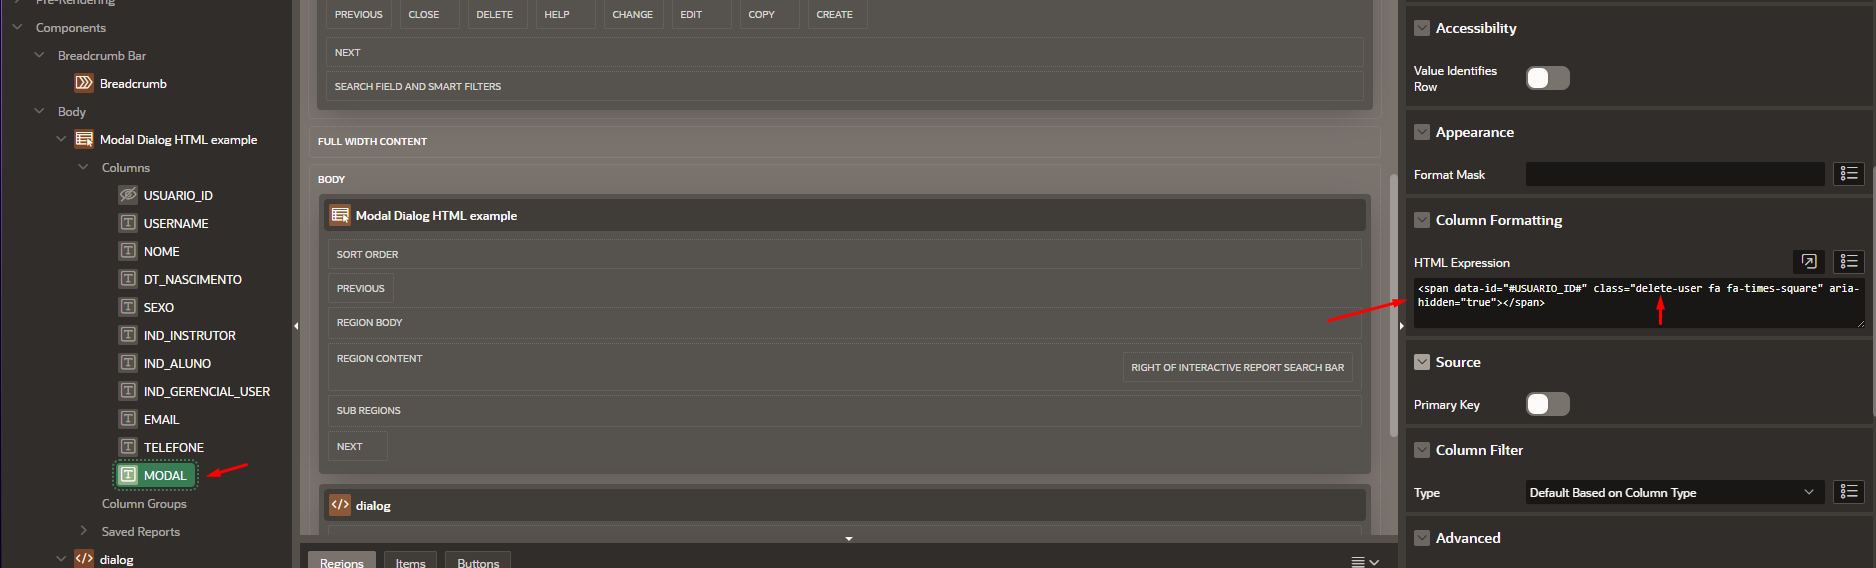
In the column formatting property, I gave a class name called delete-user to my column.
<span data-id="#USUARIO_ID#" class="delete-user fa fa-times-square" aria-hidden="true"></span>
Now I going to associate a click event with these elements:

//fetch user ID
userId = this.triggeringElement.getAttribute("data-id");
//fetch the modal element
const dialog = document.querySelector(".dialog-delete-user");
//pass the user-id to be deleted to my modal
dialog.setAttribute("data-id", userId);
//open the modal
dialog.showModal();
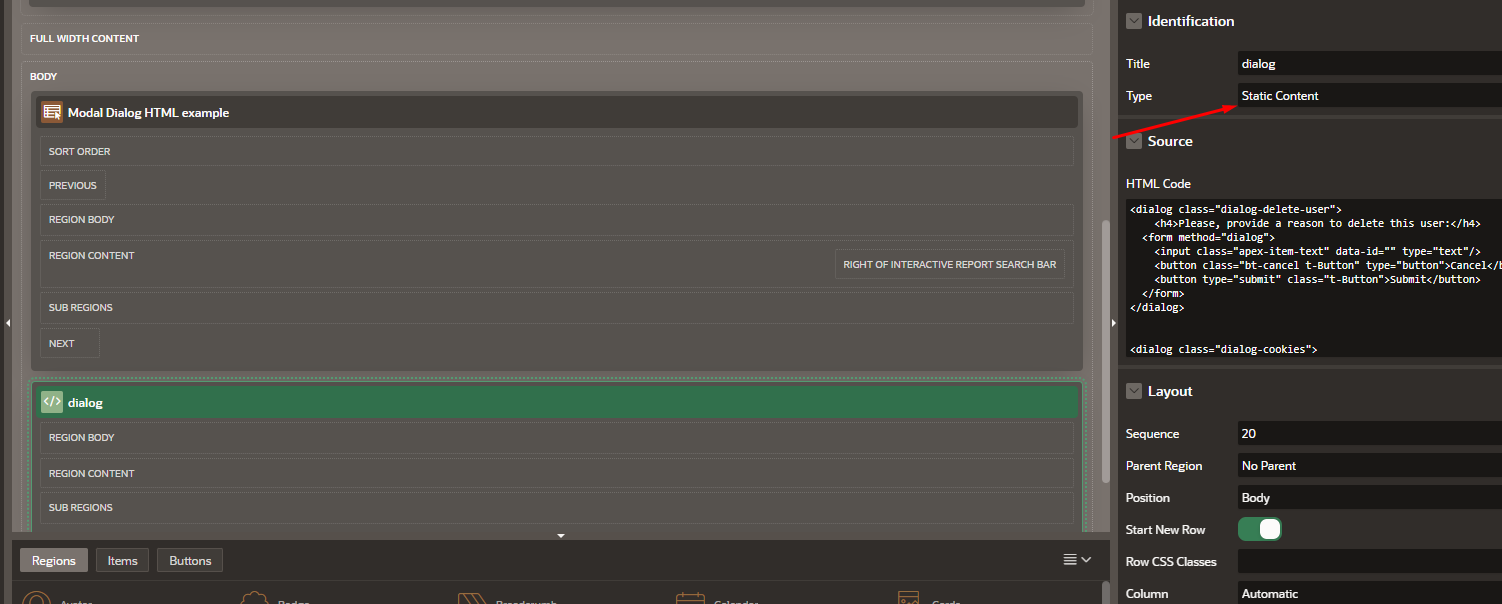
I Will use the static region that I mentioned early to
coalesce all my HTML code:
<dialog class="dialog-delete-user">
    <h4>Please, provide a reason to delete this user:</h4>
  <form method="dialog">
    <input class="apex-item-text" data-id="" type="text"/>
    <button class="bt-cancel t-Button" type="button">Cancel</button>
    <button type="submit" class="t-Button">Submit</button>
  </form>
</dialog>

<!-- ----------------- Cookies dialog ------------------------ -->
<dialog class="dialog-cookies">
    <h4>This web-site use cookies to provide a better experience.</h4>
    <span>Please, allow using cookies for a better experience:</span>
    <div class="bts-wrapper">
    <button class="bt-cookies t-Button" type="button">Yes</button>
    <button class="bt-cookies t-Button" type="button">No</button>
    </div>
</dialog>
Now I have an <form> Inside the modal using the "dialog" method. This method will close the dialog when the form will be "submitted", this way we will not need close the modal manually. I Said "submitted" for a reason, because the method dialog does NOT submit your form, it keeps the data on the inputs instead.
With this, the modal is already opening. But the buttons are doing nothing. I am going to add a function if the user clicks on cancel or submit.
If the user cancels the operation I will close the modal:
Add a listener to cancel button using my class bt-cancel added early
After clicking, the modal is selected and closed

const dialog = document.querySelector(".dialog-delete-user");
dialog.close();
If the user clicks on submit, then the function deleteUser() runs calling an Ajax callback to delete the user.
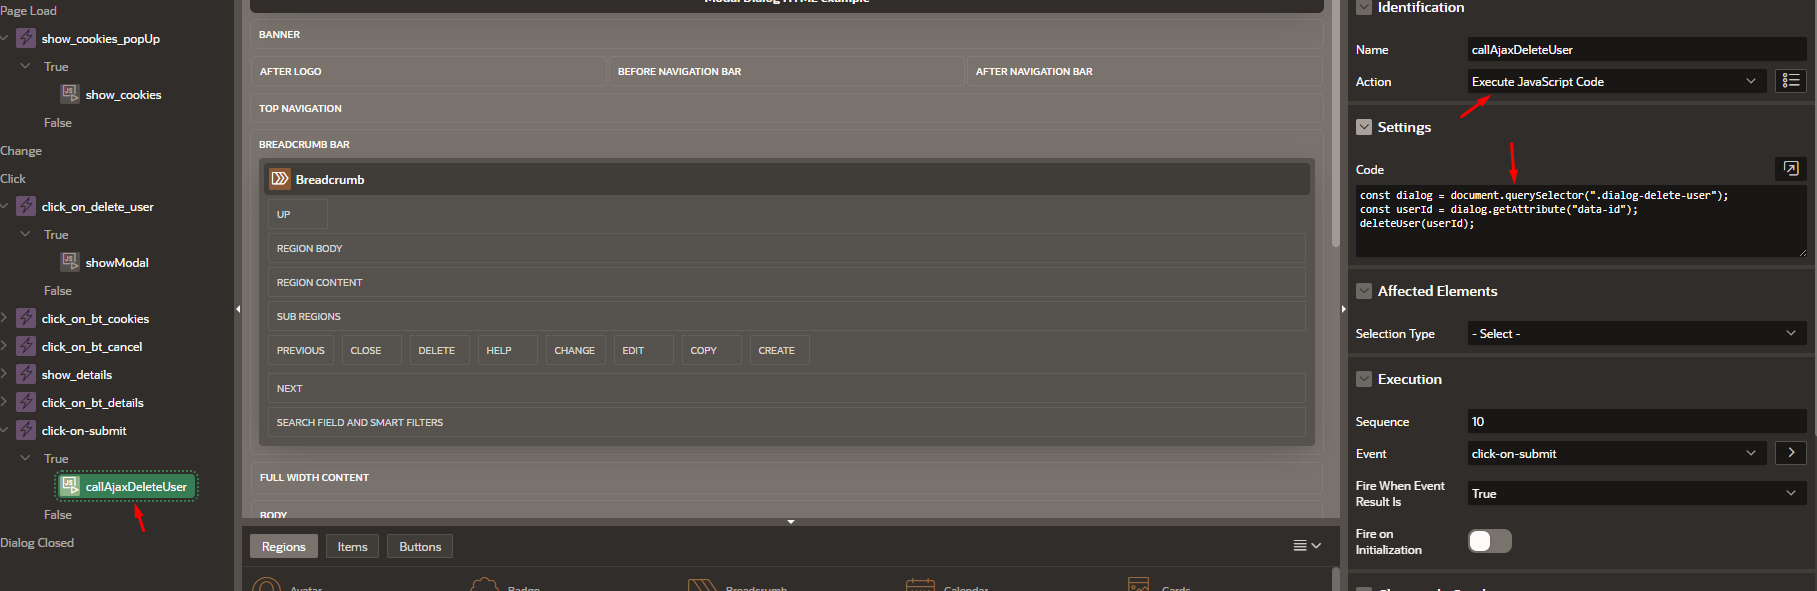
//calling the function
const dialog = document.querySelector(".dialog-delete-user");
const userId = dialog.getAttribute("data-id");
deleteUser(userId);
User ID function is:
function deleteUser(userID){


const processName = "AJAXCB_DELETE_USER";

const  dataSent = {x01: userID};


const  callback = {
                    success:(resp) => { console.log(resp.msg) },
                    error: (a,b,c) => {console.log(a,b,c) }
                  };


apex.server.process(processName, dataSent, callback);

}
Now my callback delete the user.
Conclusion
The <dialog> is a tool very versatile and easy to work with. These tips can help with small dialogs that are requested from us in day-to-day using a native HTML 5 feature. Use creatively!


